Introduction
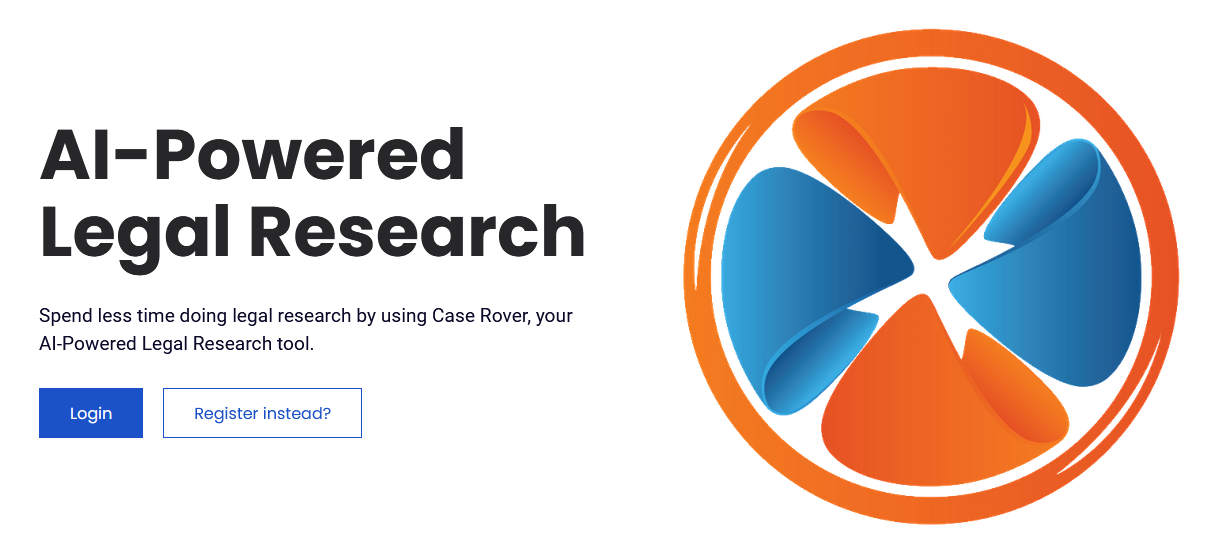
Case Rover is an AI-Powered Legal Research tool empowering lawyers, legal practitioners and legal departments in Zimbabwe. Instead of spending hours and hours reading through hundreds of documents some from untrusted sources, Case Rover allows you to use AI to look for the right documents and answer your legal questions during research using artificial intelligence (AI). Learn more about Case Rover from here. In this blog I will show you how to go around Case Rover and I will also give you some insights on how to efficiently use the tool for your research.
Login and Register
- Before you can do anything on Case Rover, you need to register an account first and you can do that from here.
- If you already have an account, all you need to do is to Login and you can do that from here.
For new registrant, Case Rover will automatically take you through a tour showing you the various sections of the tool which we will discuss here.
Sections
The tool is made up of few sections which you should know to be able to navigate your way around the tool with ease. These sections include the Mode section, Workspaces section, Tour and Account section, buttons section etc. Let’s start discuss the various sections:
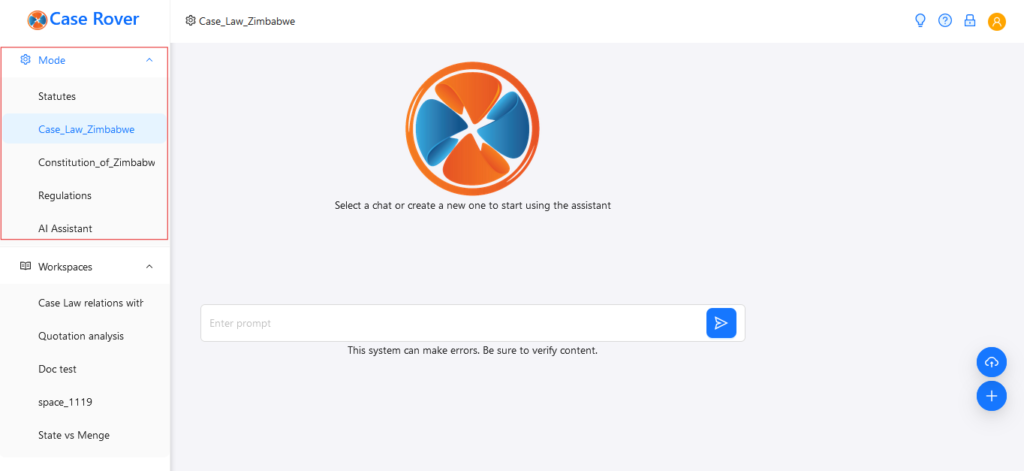
1. Mode Section
Modes allow you to switch between the different databases of legal documents which Case Rover has. Modes can be found at the top of the Menu which is at the left side of the screen or can be brought by clicking the Menu button when on mobile devices. There are different Modes, for example Statutes Mode allows you to use all the statutes currently in force in Zimbabwe and Regulations Mode will allow you to access regulations etc. Refer to the following screenshot for reference:
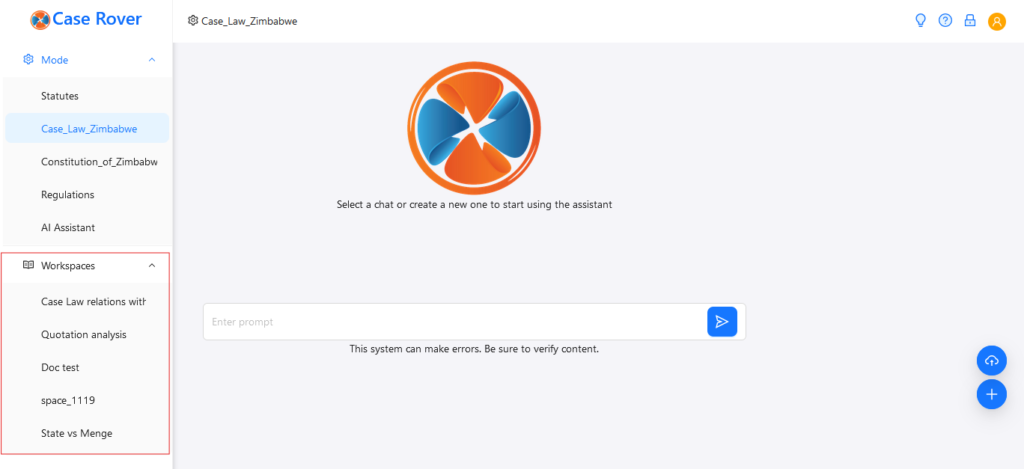
2. Workspaces Section
Workspaces allow you to create chats of your research which you can refer to in the future. If you do not create a workspace and name it using the ‘+’ button at the bottom right, Case Rover will automatically name the workspace for you with a random name hence it is advised to create your own workspaces and provide names you can remember such as ‘Moyo vs My Client’ assuming the research is for a case in which you are representing your client against Moyo for example. Your workspaces can be found at the bottom of the Menu at the left and you can be able to navigate between past workspaces and delete them. See the screenshot below for reference:
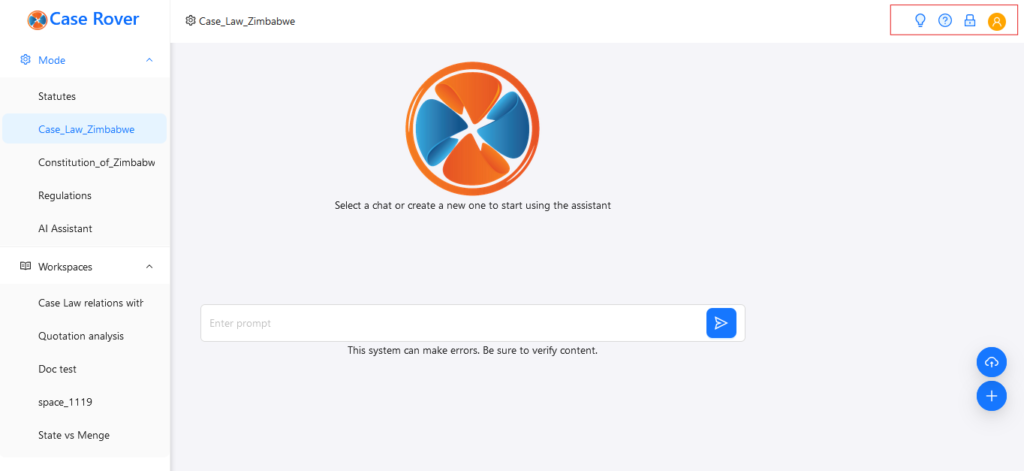
3. Account and Tour Section
At the top-right of the screen is where you will find icons for tour, help, logout and account. It is from there that you can be able to start a tour (if you have forgotten something on how to use the tool), find all the help you need after clicking the help icon, logout after clicking the lock icon and finally access your account after clicking the right most icon. See screenshot below:
4. Buttons Section
This section at the bottom-right with two blueish buttons will allow you to create a workspace if you click the ‘+’ button and upload PDF files if you click the top button which is for uploading. See screenshot below:

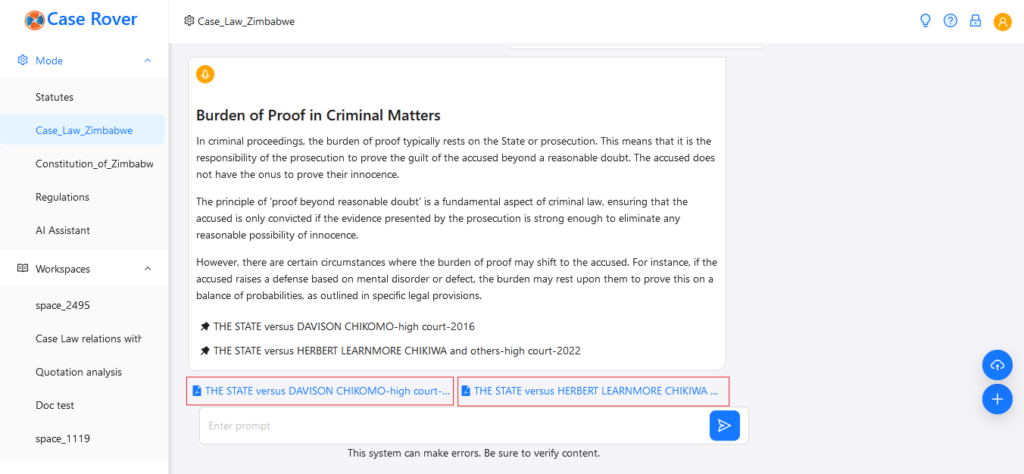
Accessing sources
After you switch to a mode like Statutes or Case_Law_Zimbabwe, our AI will look for the most relevant document relating to you search and generate a lawyer like response using the found documents. Fortunately you can access these documents for verification purposes and you can do this by clicking the links below the AI’s response at the bottom. See picture below:
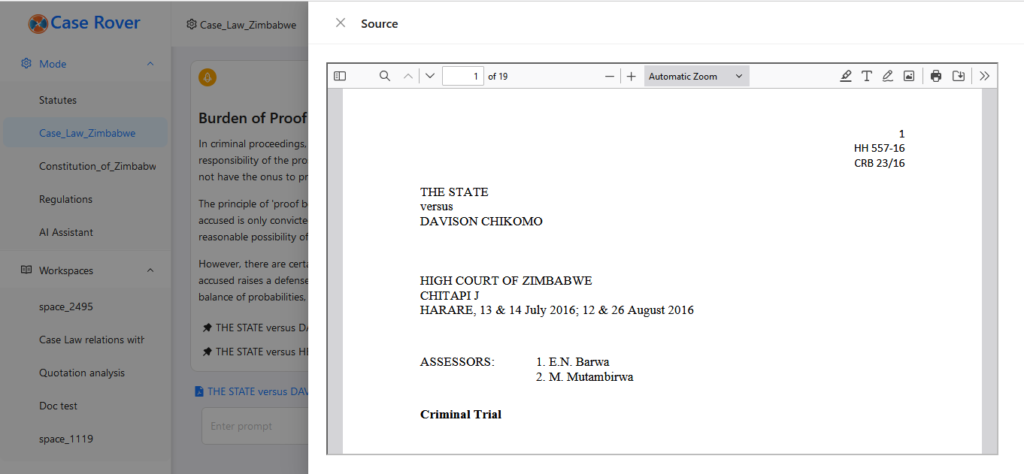
And the document should like the following depending with the browser you are using and the device:
Conclusion
Thank you for going through this blog post and learning more. Case Rover is a very powerful tool which if used properly it will transform your legal research process. Let me know of any feedback. Happy using Case Rover.
No responses yet